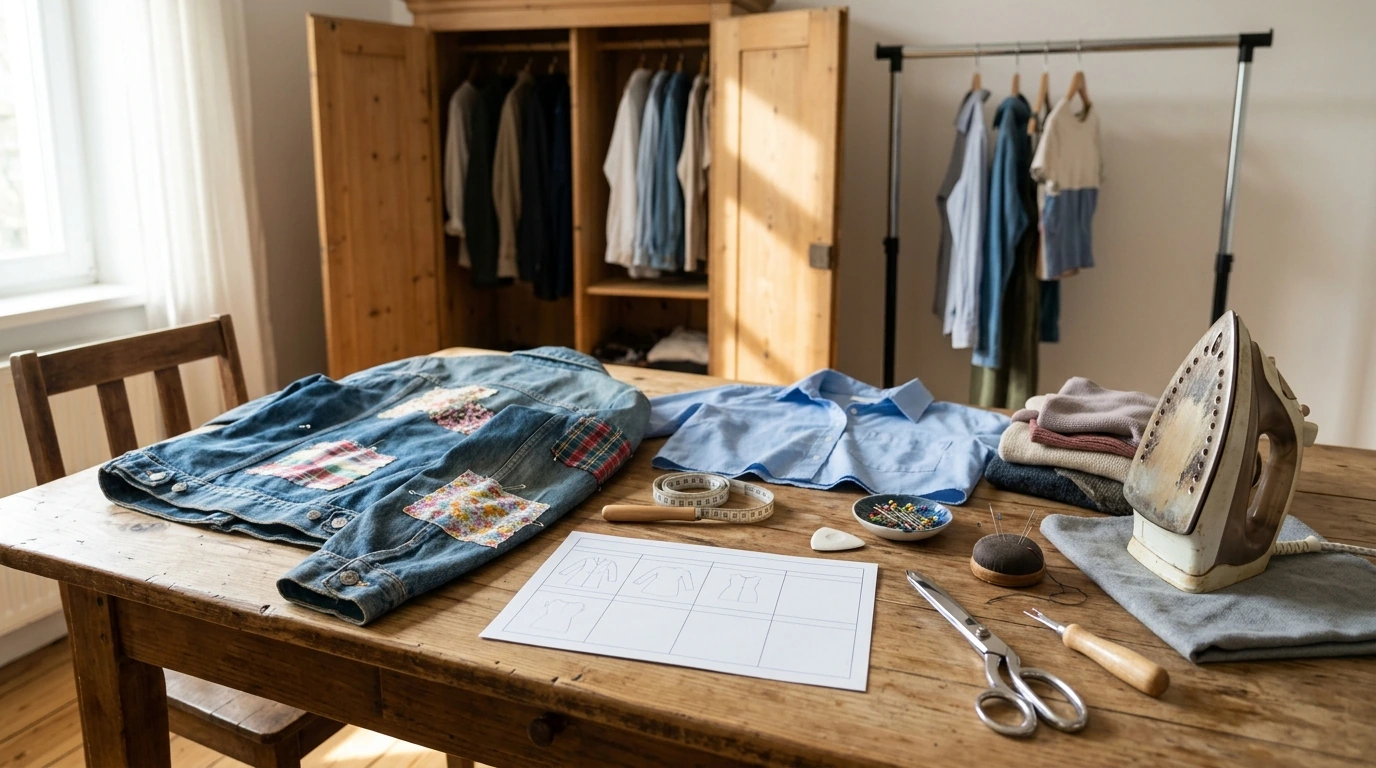
Reconstructing clothes is a practical way to refresh personal style while reducing textile waste. With a simple plan—what to keep, what to cut, what to combine, and how to finish—“closet clutter” turns into outfits that feel new again. Below is a step-by-step, printable-friendly workflow designed for creative experimentation without needing a full sewing studio.
For a broader look at why keeping textiles in use matters, the U.S. EPA’s textile waste guidance is a helpful starting point, and the Ellen MacArthur Foundation’s work on circular textiles explains how redesign and reuse reduce pressure on resources.
Reconstructed clothing focuses on altering existing garments—reshaping, combining, patchworking, overdyeing, shortening/lengthening, or changing closures—so they better match your body and your current style. Instead of defaulting to replacements, reconstruction prioritizes fit, function, and individuality, which often results in pieces that feel more comfortable and more “you.”
The best part is the scale: small changes can deliver major visual impact. A sleeve swap, a cropped hem, added side panels, contrast stitching, or turning a dress into a skirt can shift a piece from “never worn” to “repeat outfit.” A planner-based process also reduces overwhelm by splitting projects into quick wins and longer builds, so momentum stays high.
Pull items that are close to wearable but not being used: fit issues, dated shape, minor damage, or pieces that feel bland when you put them on.
Write one clear reason per item: too long/short, neckline feels off, scratchy fabric area, transparency, tight shoulders, worn knees, missing buttons, staining, or stretched-out elastic. Clarity here prevents overcomplicating the fix.
Assign each item a goal: everyday basic upgrade, statement piece, layering tool, or occasion refresh. The same technique can look totally different depending on the role you want it to play.
Choose methods based on your time, tools, and patience that week. If you’re tired, pick a “finish-only” task (buttons, pressing, simple hem). Save bigger builds for a day with more focus.
Plan outfits that reuse the reconstructed pieces: cropped top + high-rise pants; shirt-dress as a duster; slip dress layered over a tee; denim with a reworked button-down. Outfit formulas turn one project into multiple wears.
| Goal | Technique | Time | Skill | Tools |
|---|---|---|---|---|
| Better fit at the waist | Add darts or elastic casing | 45–90 min | Beginner–Intermediate | Needle/thread or machine, pins, elastic |
| More modern shape | Crop hem + finish edge | 20–60 min | Beginner | Scissors, measuring tape, iron, needle/thread |
| Turn damage into design | Visible mending patches | 30–120 min | Beginner | Scraps, needle, embroidery floss |
| New silhouette | Add side panels / gussets | 60–180 min | Intermediate | Machine, seam ripper, extra fabric |
| One-of-one statement | Color block or patchwork combine two garments | 2–6 hrs | Intermediate–Advanced | Machine, pattern paper (optional) |
A compact kit can cover most reconstructions. Start with fabric scissors, a seam ripper, pins or clips, measuring tape, chalk/marker, hand needles, strong thread, and an iron with a pressing cloth. If you add only one “upgrade,” make it better pressing: crisp seams instantly look more polished.
Nice-to-haves include a rotary cutter + mat (great for straight crops), pinking shears (quick edge control), a tailor’s ruler (accurate marking), fabric glue for temporary positioning, and a walking foot if you frequently alter knits.
Save materials that future-you will thank you for: old tees (knit binding), denim scraps (patches), extra buttons, zippers from retired garments, bias tape, and small pieces of interfacing. To stay organized, set up a “project tray” so each garment’s parts—buttons, scraps, and notes—stay together and progress doesn’t stall.
T-shirts: Crop and add a drawstring hem; turn graphic tees into tank tops; add contrast sleeves from another tee; cut side slits for layering and movement.
Button-downs: Swap or reshape collars; convert to a wrap top; add ties; turn into a shirt dress; reuse the placket as a clean, graphic detail on another piece.
Jeans: Taper or widen with side panels; patch knees; convert to shorts; repurpose the waistband into a bag strap or corset-style belt.
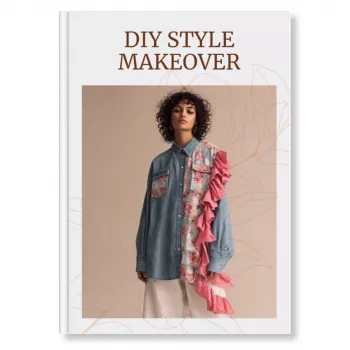
If you want a ready-to-use system, explore the DIY Style Makeover planner and eBook, designed to keep creativity high while reducing wasted time, fabric, and abandoned half-finished experiments.
For a style-forward piece to play with in layering and outfit formulas, the Sexy Mesh Print Mini Dress can work as a base layer under oversized shirts, sweaters, or reconstructed jackets—especially when you’re building a “new outfits from familiar pieces” rotation.
Start with hems, simple crops, visible mending/patches, button swaps, and elastic casings. Press as you go and always pin-then-try-on before sewing to avoid fit surprises.
No—hand sewing works well for patches, hems, buttons, and small fixes. A machine becomes most helpful for adding panels, installing zippers, and doing bigger resizing where strong, even seams matter.
Press every seam, keep stitching tidy and consistent, reinforce stress points, and use clean seam finishes where possible. Limiting each garment to one or two design accents (like one thread color or one patch shape) also makes the result look intentional.










Leave a comment